


In 6 steps:
Restoring a vintage road bike
Do you love vintage road bikes? Are you a bit eco-conscious at heart and don't want to buy a new bike? Do people say you "have moths in your wallet"?
But most importantly: you don't want to invest in a beautiful bike that will end up like all beautiful bikes in the city: STOLEN.
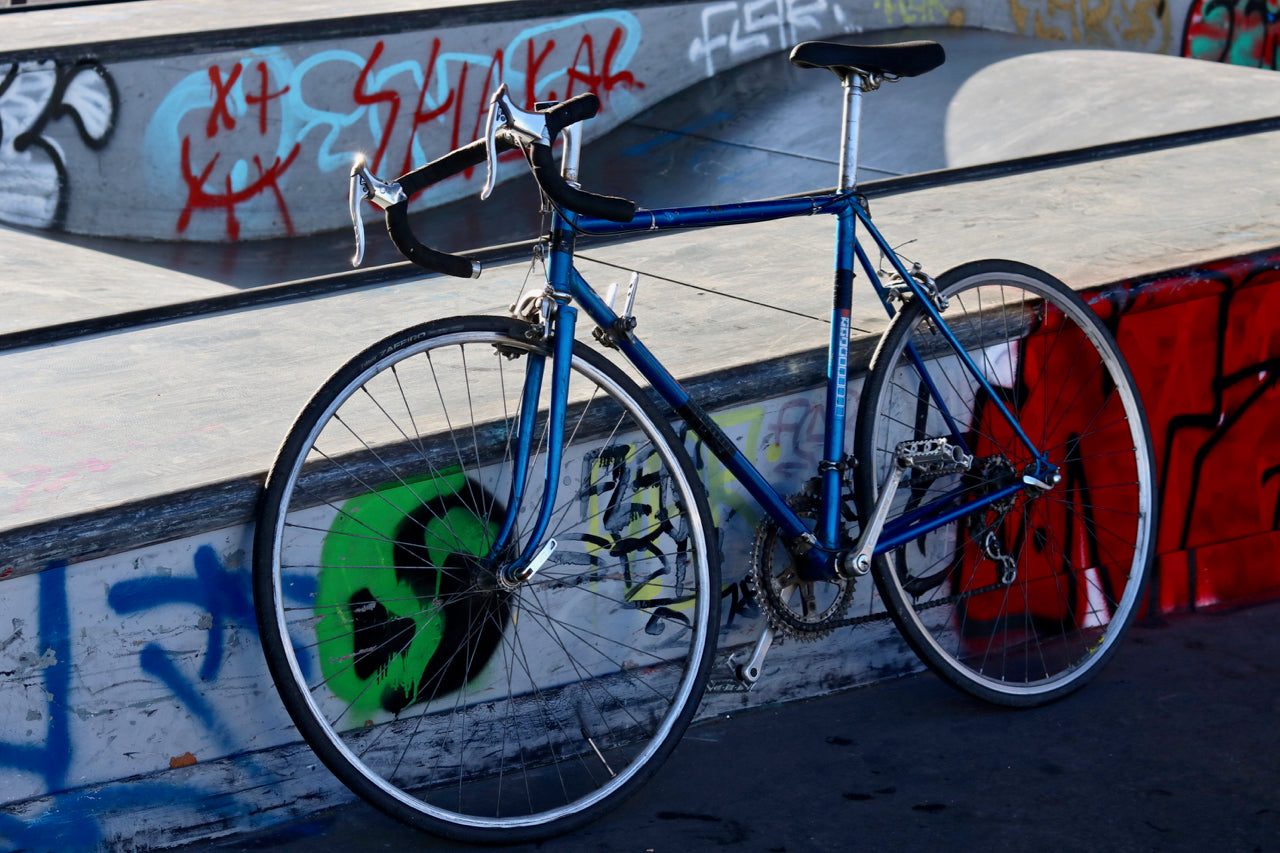
So we have the solution for you: restore an old 1980s road bike and turn it into a little speed machine.
Sure, it'll be slightly heavier than a thirty-something's bike for their triathlon phase, but it'll ride! And pretty well at that... And most importantly, you'll have a much lower chance of getting it stolen.
Step 1: Buy a road bike on the classifieds
For my part, I set my sights on a small Gitane bike for €70, size 54, worn by life, but just waiting for a little love to truly shine.
Regarding size, note that 54 will be quite versatile for anyone between 5'6" and 6'1".
Find below a table explaining how to choose the frame height (between the center of the bottom bracket and the bottom of the saddle) for a road bike:

Step 2: Find the nearest repair workshop to you
Three reasons to join a workshop near you:
- for every repair, the golden rule if you don't want to pull your hair out is: one repair = one set of tools
- you'll find plenty of spare parts that are impossible to find in stores
- the cherry on top: membership usually costs only around €20 per year.
For Parisians, I recommend Solicycle.
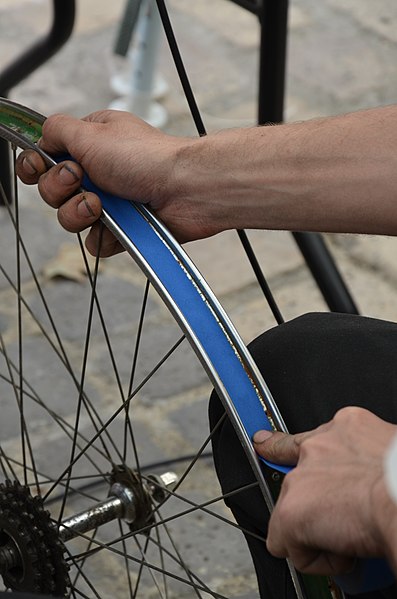
Step 3: Replace the rim tape and tires to prevent punctures
To check whether a puncture is caused by worn rim tape, simply check if the puncture is on the underside of the inner tube. If so, there's no doubt — the rim tape is to blame!
To do this:
- deflate the inner tube and remove the tire
- check if the rim tape has holes (if so, a puncture is guaranteed)
- if it's damaged, remove the rim tape.
- clean the rim with a dry cloth
- wrap the new rim tape flat, starting from the valve hole
When should you replace your bike tire?
- every 2,000 to 5,000 km
- no tread depth on the top
- cracked on the sides
- punctured / torn
Note
Tire maintenance
- every 2,000 to 5,000 km
- no tread depth on the top
- cracked on the sides
- punctured / torn


Step 4: Replace the brake cables and housings, the brake pads, and tighten the brakes
-

1.
Remove the handlebar tape (the front and rear brake cables are supposed to run underneath it).
-

2.
Use a flat wrench to unscrew the bolt that "clamps" the cable and cut off the end of the cable.
-

3.
Press the brakes to "open" them at the front, use an allen key to unscrew the brake levers (easier to do with the brakes removed, but not mandatory)
-

4.
- Push the cable toward the exit of the brake levers and pull it all the way out
- Thread a new cable through the brake levers (remember to grease it)
- Cut the housing to the right length (it needs to run the full length, going along the handlebar under the handlebar tape)
-

Well done!
(but it's not over yet)


-

Perpendicular axis
An equivalent of my front brake. The brake pad bolt axis is perpendicular to the rims.
-

Parallel axis
The brake pad bolt axis is parallel to the rims.
-

Tightening and adjusting a center-pull brake
Last step: adjust the cable tension on the small piece that clamps the cable on a center-pull brake.
-

Column
The best way to do this is to usea Y-shaped tube wrenchalong with aflat wrenchand make the adjustment with the pull cable removed from the part. Check if it's tight enough, then repeat.


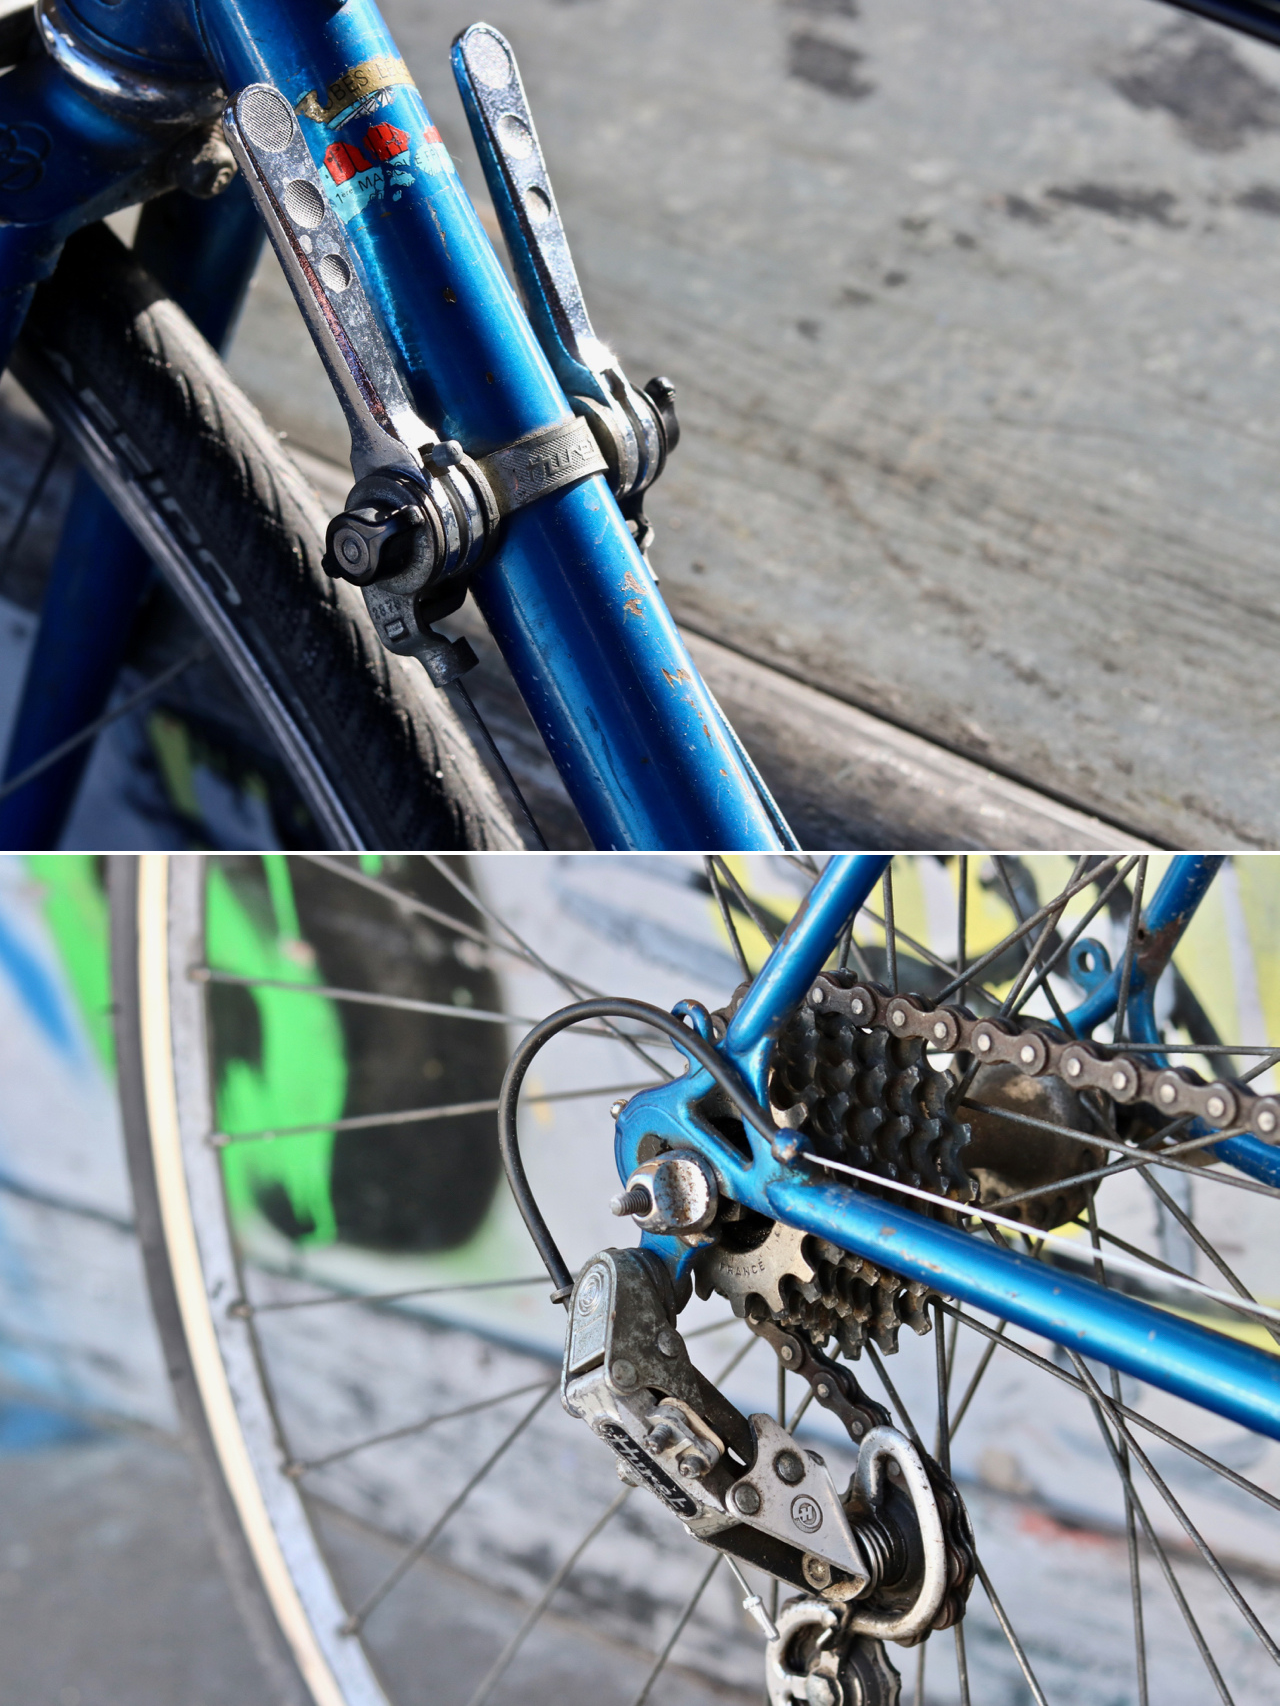
Step 5: Replace the derailleur cables and housings
The cables on a road bike normally run through this type of shifter. They are removed very simply by unscrewing the clamping bolt at the derailleur (front/rear) and then pulling the cable out by the end from the shifter.
See the photo opposite.
--
How to adjust the front/rear derailleur on a vintage road bike?
As with all derailleurs, the game is to adjust the high limit and the low limit. On mine, there are two limit screws:
- a screw that corresponds to the stop when the cable is taut: the derailleur won't go any higher
- a screw that corresponds to the stop when the cable is slack: the derailleur won't go any lower
I'll spare you the diagrams — it's the general principle that needs to be understood: tension the cable to the maximum and set the high limit, release the cable to the maximum and set the low limit. By playing around with the screws a little, you can immediately see whether the derailleur moves up or down.
- when the cable is taut, you want the chain to be on the large chainring. If that's not the case, give the screw a small turn to allow the derailleur to go a little higher
- when the cable is slack, you want the chain to be on the small chainring. If that's not the case, give the screw a small turn to allow the derailleur to go a little lower
-

Taut
-

Slack
-

Got it?


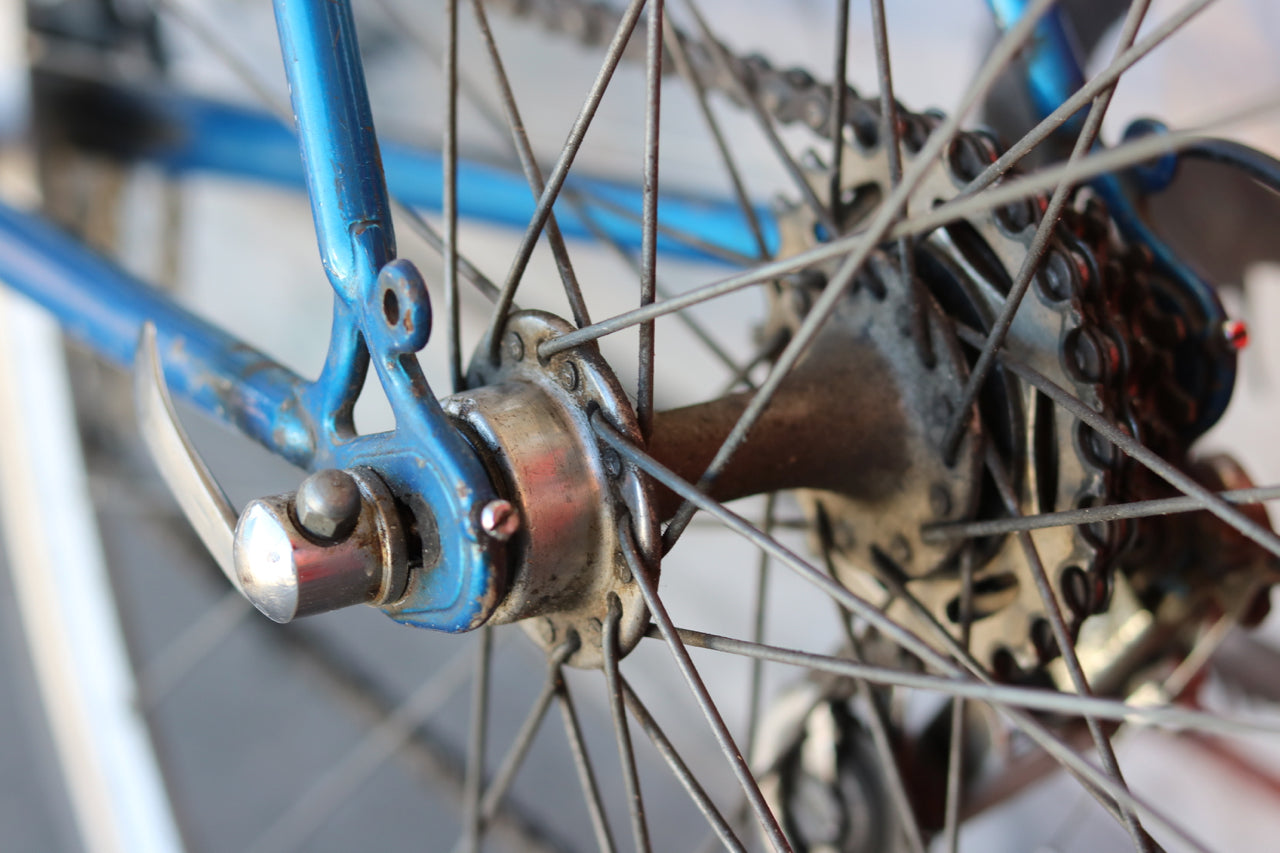
Step 6: Grease the rear hub
Not the easiest operation to carry out, but at least you'll be sure your bike will run perfectly after this! But first things first, you need to start by understanding how a vintage road bike's rear hub is put together:
- the hub is the moving part of the wheel to which the spokes are attached (which don't need to be removed for maintenance)
-

Anatomy of a bike
Not the easiest operation to carry out, but at least you'll be sure your bike will run perfectly after this! But first things first, you need to start by understanding how a vintage road bike's rear hub is put together.
--
Above: Diagram of a hub (note carefully the order and orientation of the nuts / bolt)
-

The hub
The moving part of the wheel to which the spokes are attached (which don't need to be removed for maintenance).
-

The axle
The part of the wheel fixed to the frame, around which the hub rotates (via ball bearings). It's nothing more or less than a large bolt that can be solid (tightened by nut) or hollow (quick-release). Make sure to measure your axle carefully, as you need one with the same dimension (or nearly the same dimension).


-

Home stretch!
The steps for disassembling a vintage road bike's rear hub:
-

1.
- Remove the rear wheel
- Remove the rear cassette using a chain whip and a cassette lockring tool
-

2.
- Unscrew the locknut using two flat wrenches
- Note carefully which side each part goes on
- Check that the axle is perfectly straight
-

3.
- Remove the dust caps to access the ball bearings (with a flat-head screwdriver)
- Delicate operation: remove the ball bearings and count them
- Replace with a ball bearing cage containing the same number of balls
-

4.
- Grease generously
- Refit the dust caps with a rubber mallet
- Reassemble everything
-

Tadam 🎉
Your speed machine is ready for the road!


Want to discover our latest articles ...
View all-

Motorcycle road trip: navigate without draining...
A road trip of 400 to 600 km means four to six hours of active GPS. Discover how to avoid a dead battery and vibration damage to your camera's OIS...
Motorcycle road trip: navigate without draining...
A road trip of 400 to 600 km means four to six hours of active GPS. Discover how to avoid a dead battery and vibration damage to your camera's OIS...
-

Summer storms on a motorcycle: keeping your sma...
In summer, a storm can roll in within minutes. Here's how to protect your smartphone on the handlebars: camera window sleeve, waterproof sleeve, understanding IP ratings, and the 5 reflexes...
Summer storms on a motorcycle: keeping your sma...
In summer, a storm can roll in within minutes. Here's how to protect your smartphone on the handlebars: camera window sleeve, waterproof sleeve, understanding IP ratings, and the 5 reflexes...
-

New iPhone 17 and Shapeheart: the perfect combi...
The iPhone 17 is here, and to enjoy it to the fullest, nothing beats Shapeheart magnetic mounts. Compatible with all uses (motorcycle, bike, running, car), our accessories are simple, secure...
New iPhone 17 and Shapeheart: the perfect combi...
The iPhone 17 is here, and to enjoy it to the fullest, nothing beats Shapeheart magnetic mounts. Compatible with all uses (motorcycle, bike, running, car), our accessories are simple, secure...


